| description |
|---|
This page shows the 2 steps needed to get an LTO Network node up and running using IBM Cloud, specifically Kubernetes Services. |
So you decided you want to be part of the LTO Network, awesome!
A great way to be part of the community is by actively participating as a node in the network.
Make sure to check out the Prepare: Setup your wallet page before continuing. The node setup pages assume you utilize a 2-wallet setup for extra safety.
Make sure you have a “Pay-as-you-go” or better IBM Cloud account. It’s not possible to create a Kubernetes Service on IBM Cloud with a free account.
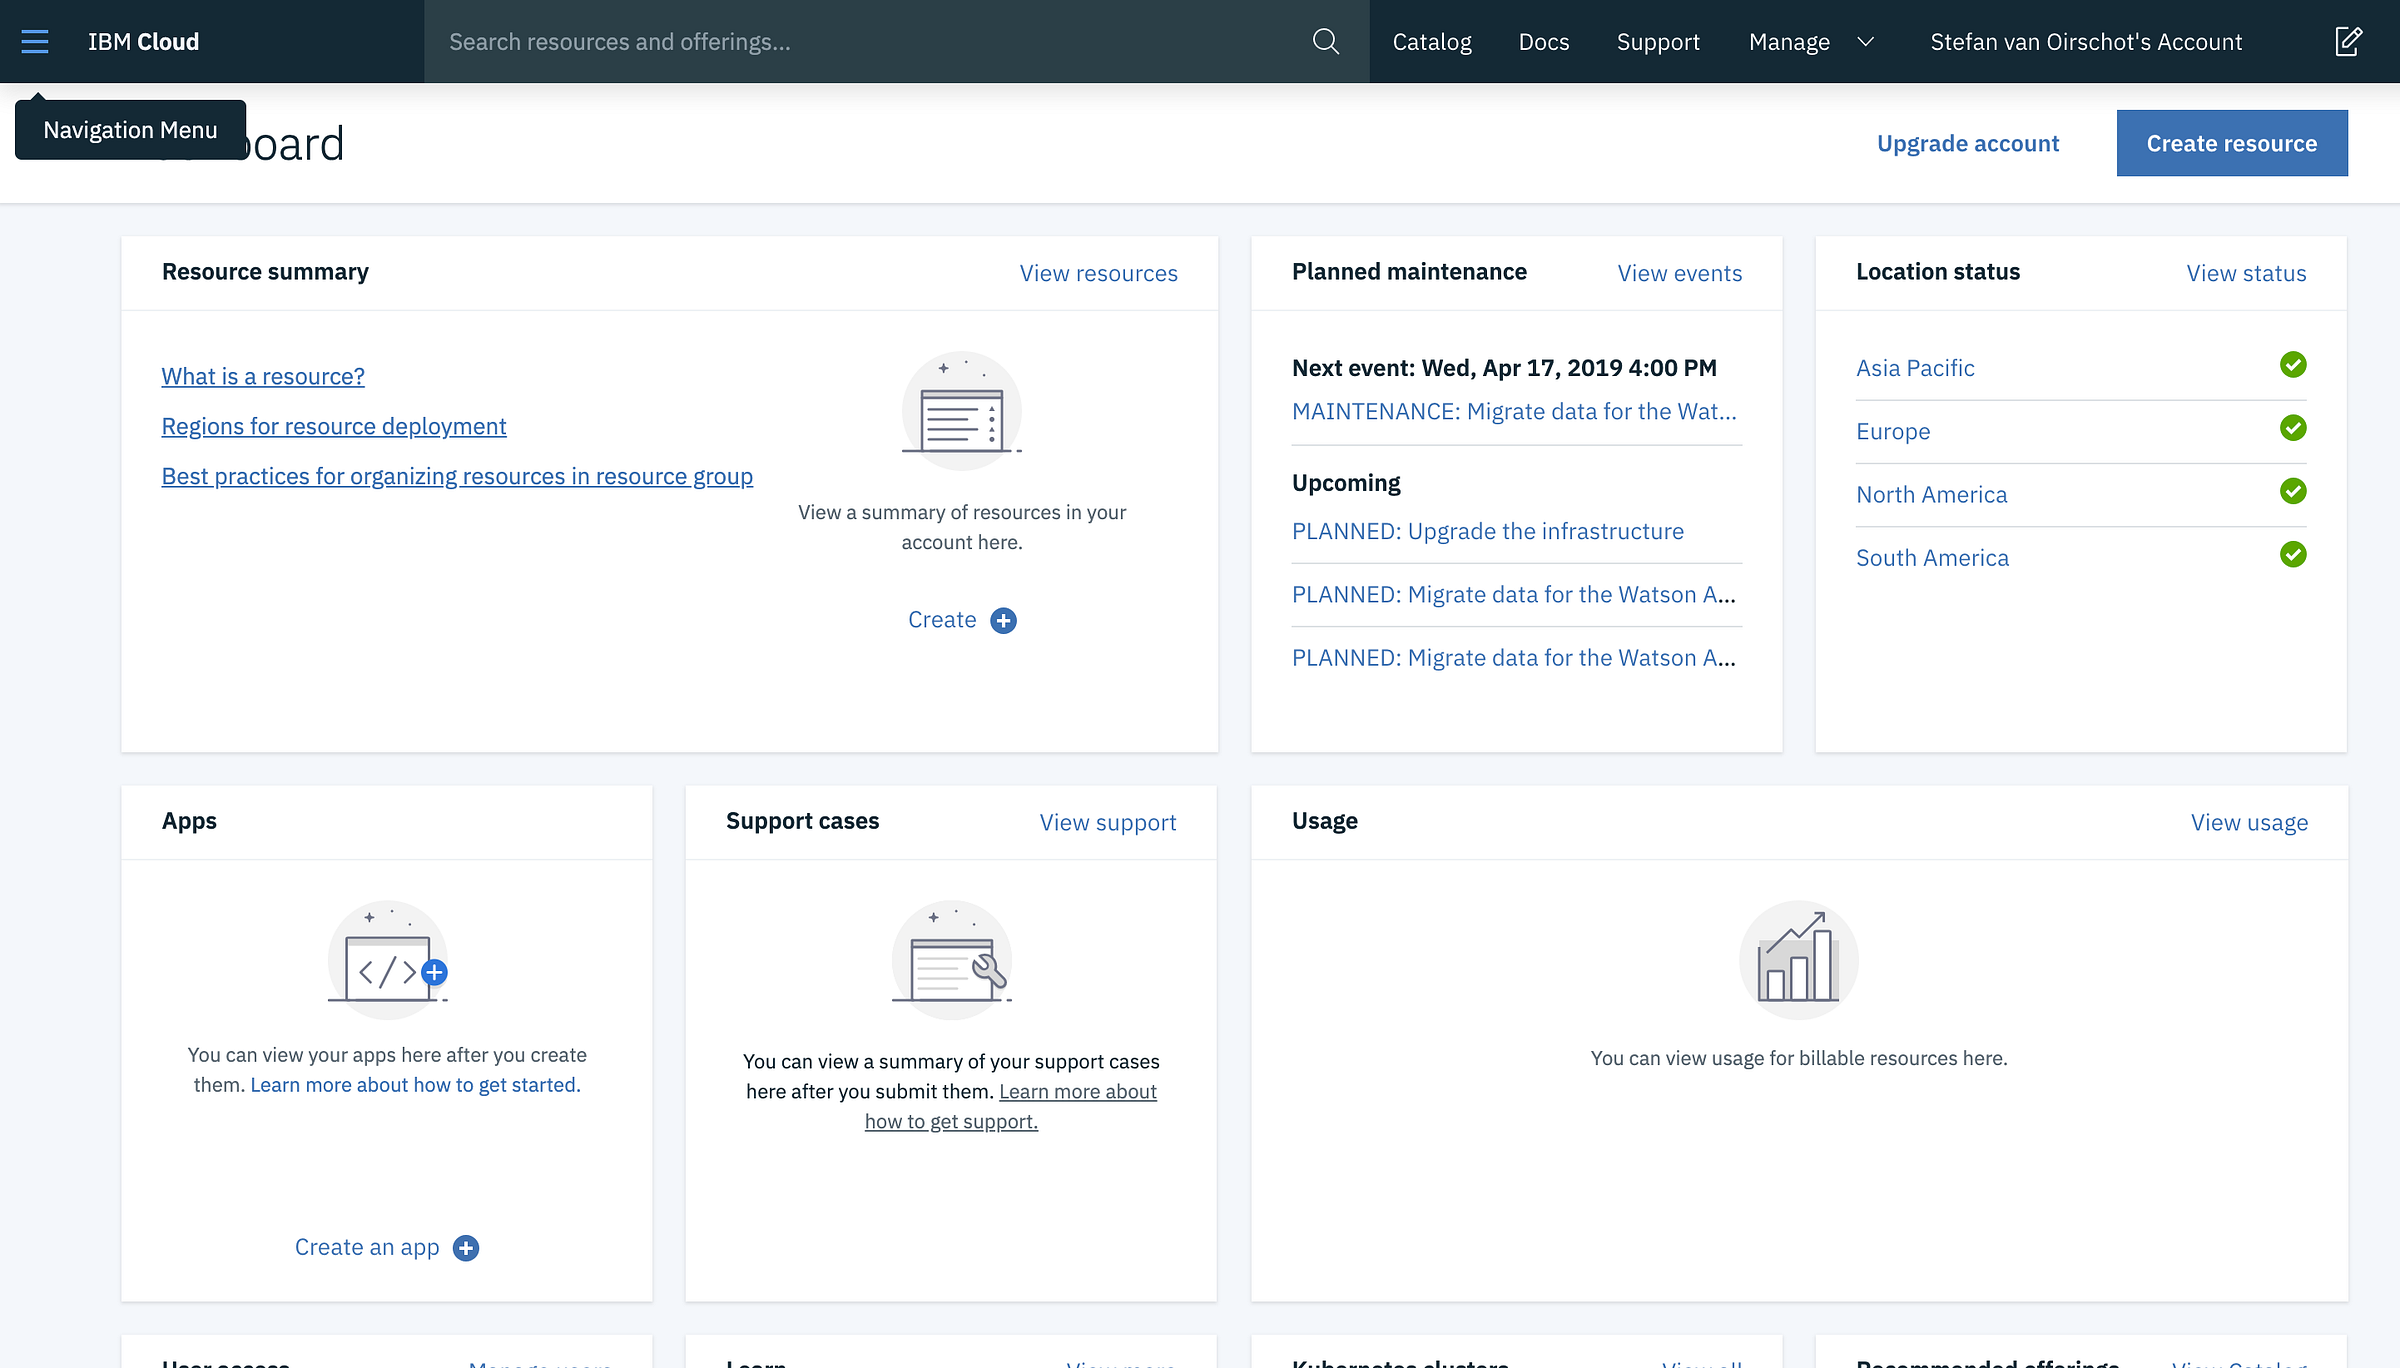
Shown above is the main screen of IBM Cloud after your initial login. As you can see at the time I had not upgraded to a pay-as-you-go subscription. Without such a subscription you can not create a “free” Kubernetes Service cluster, a requirement (you have other more expensive paid alternatives) for hosting a container on IBM Cloud.
Please make sure you have added a subscription to your plan. If you’re ready to continue click on Create resource in the top right corner.
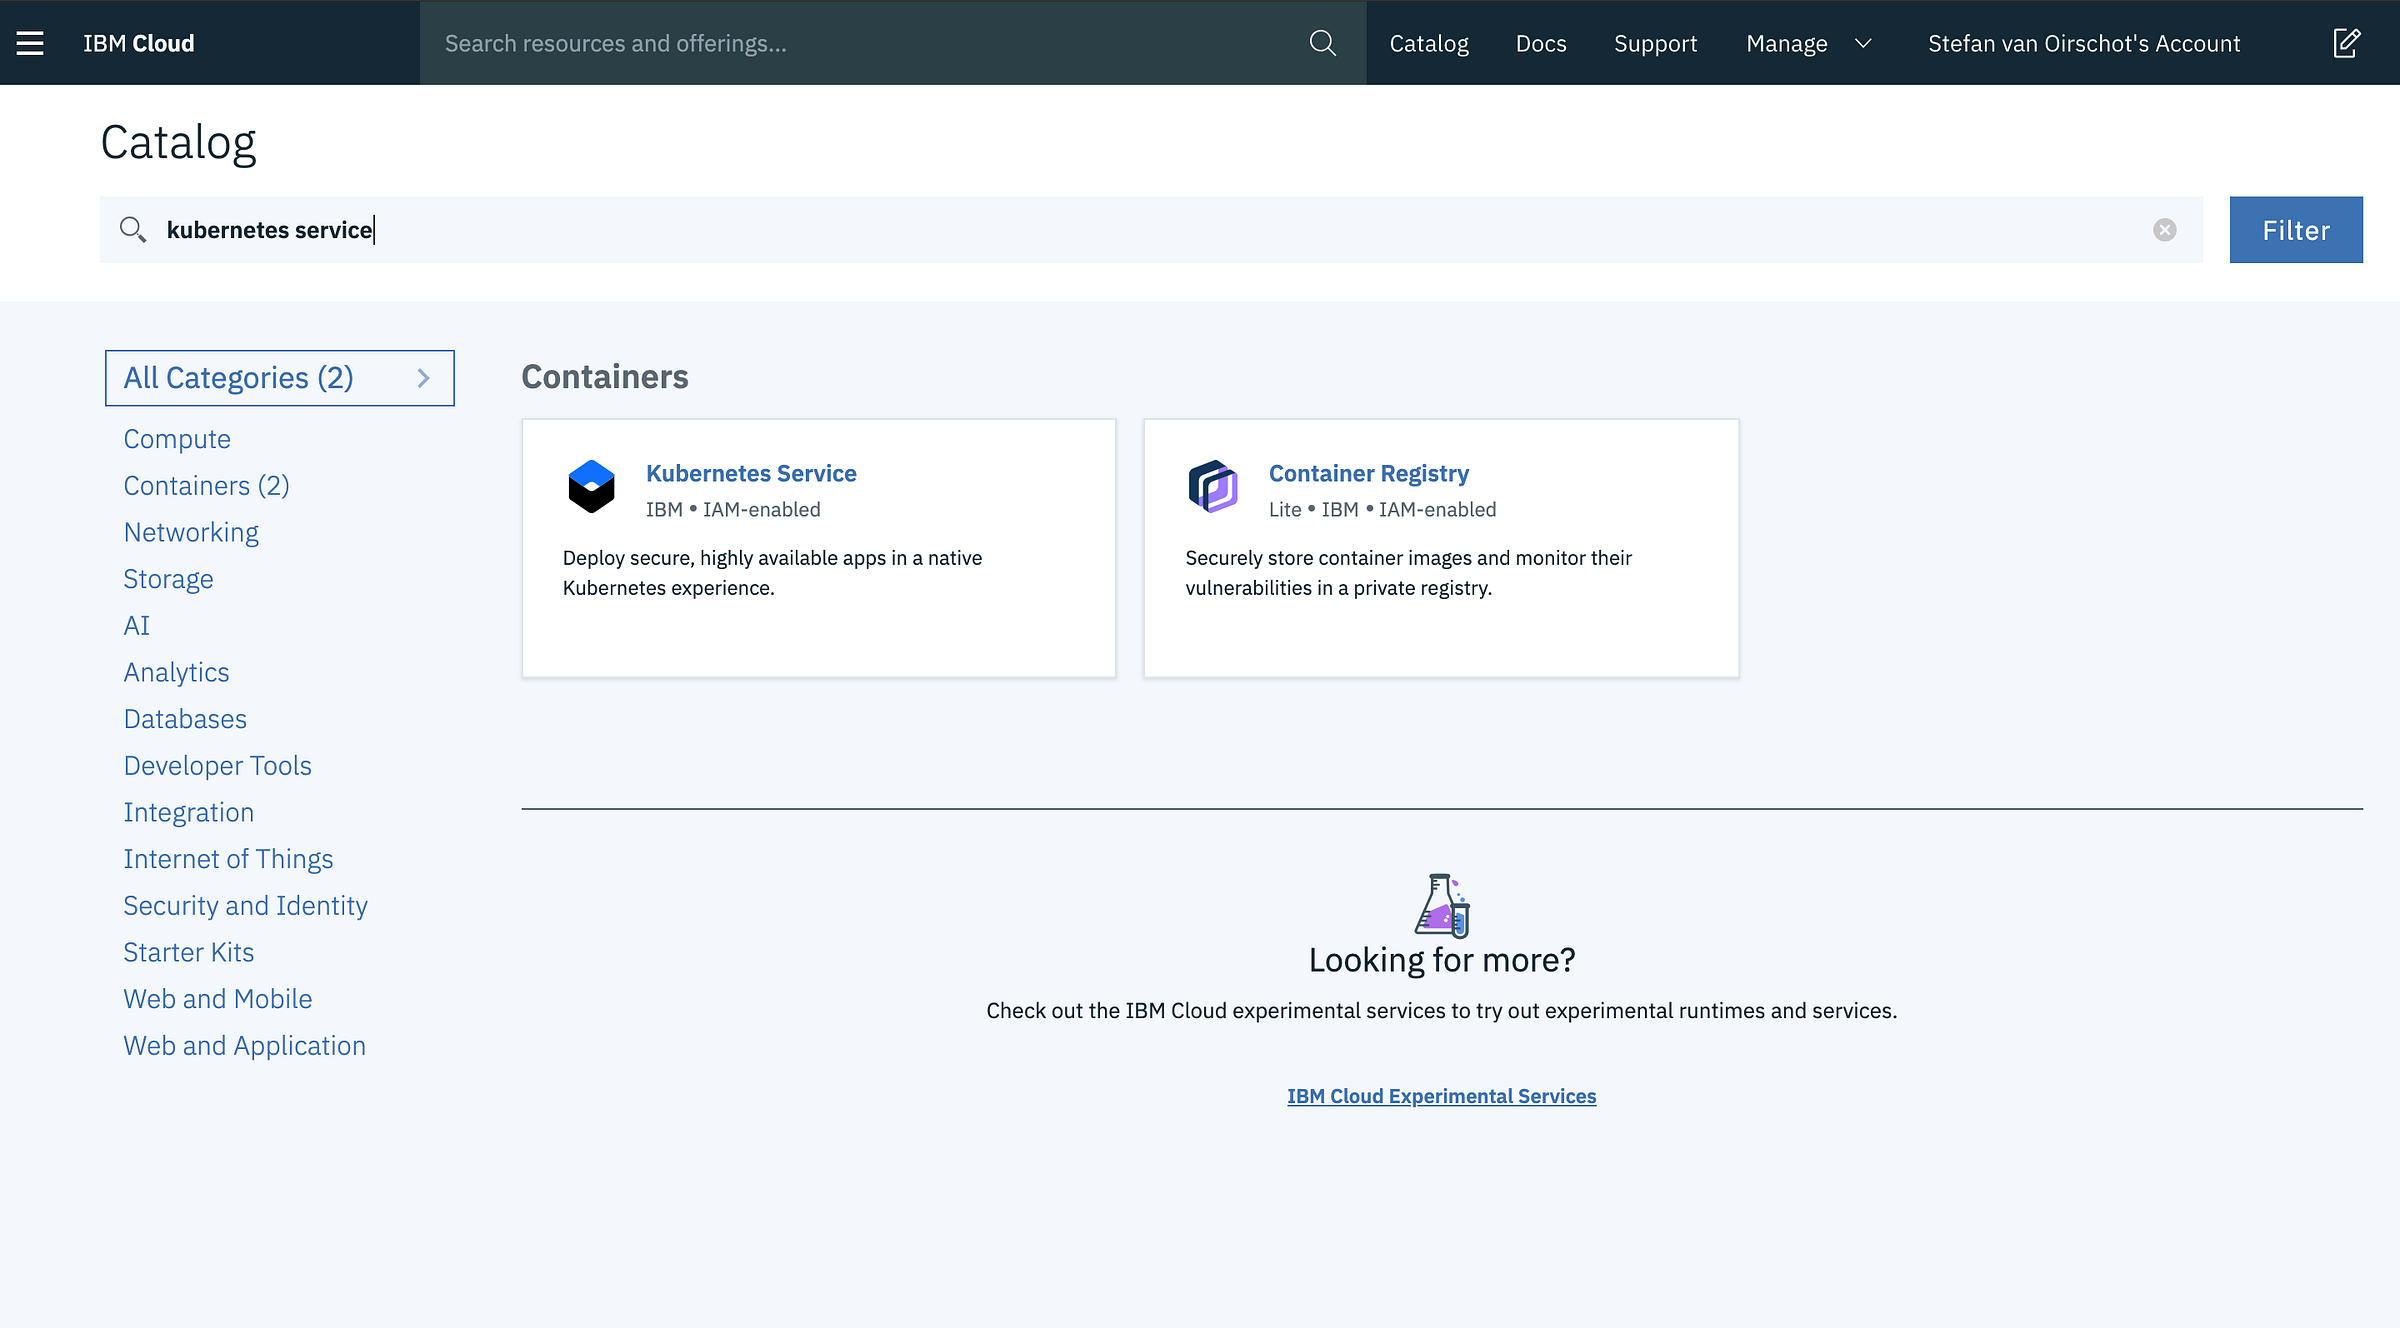
On the next screen user the filter to go through the catalog. We want to deploy a Kubernetes Service. Click the box to continue.
On the overview page you can click Create to create your Kubernetes Service cluster. If you do not have the option to click create you probably do not have the right subscription.
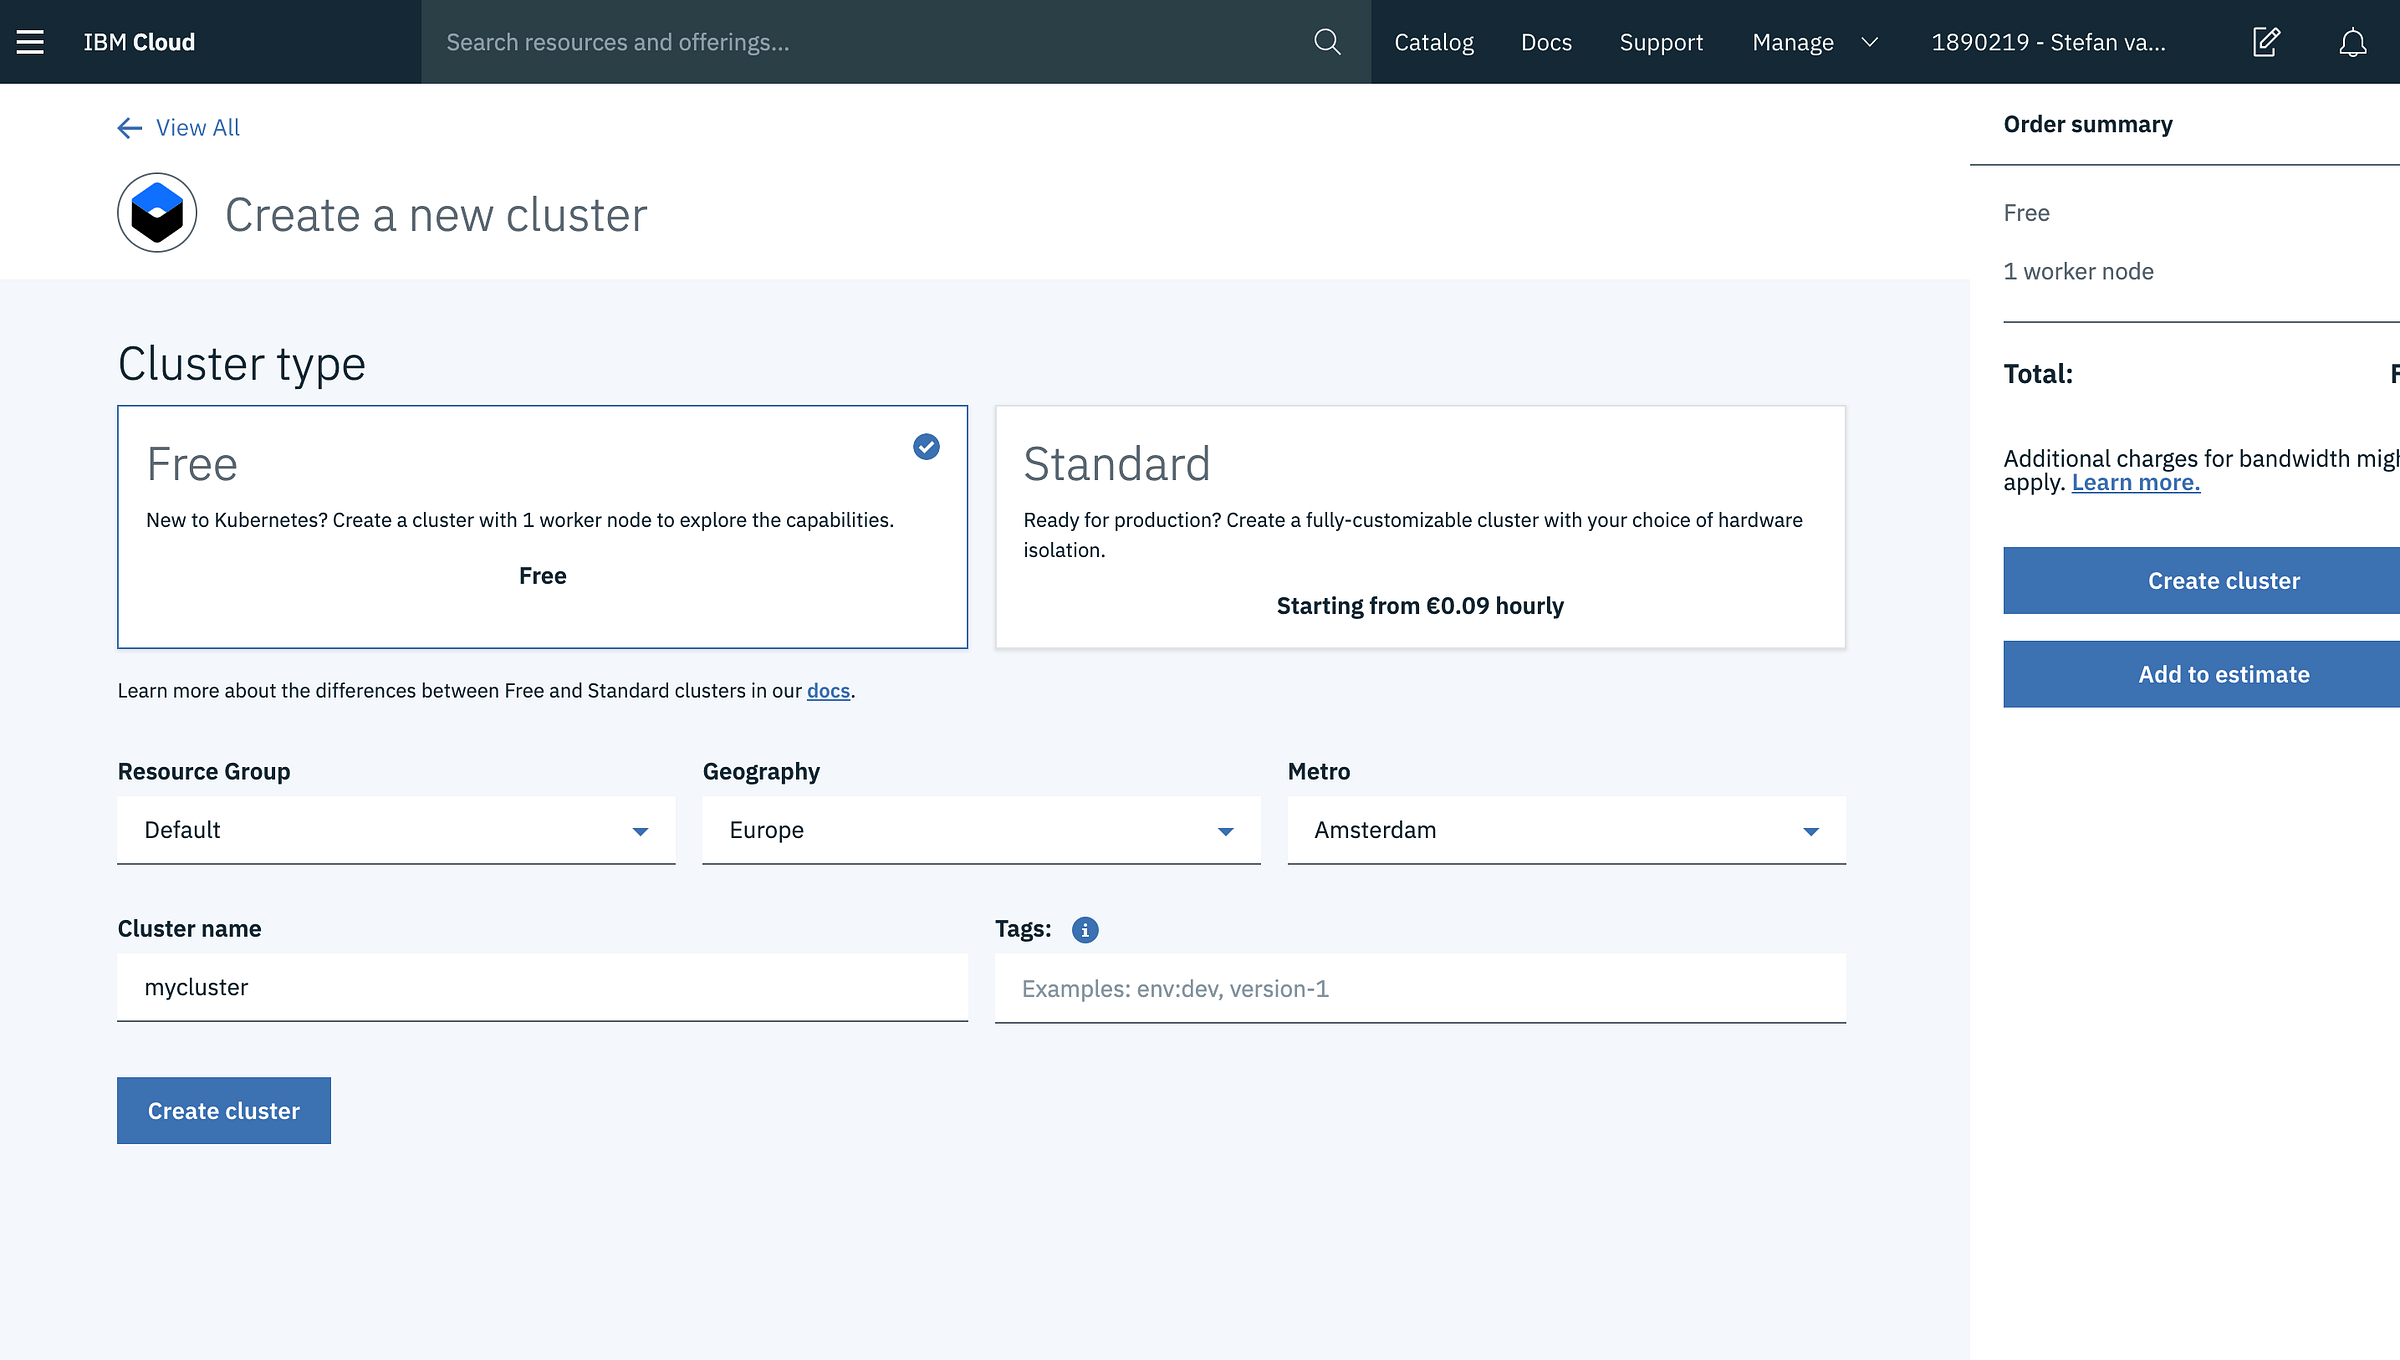
In the next screen we have the opportunity to setup a simple test cluster or deploy an actual production-ready Kubernetes cluster. For the sake of this test I choose to go with the Free cluster. Select the Free option, change settings if you please and click Create cluster.
You successfully requested a deployment of a Kubernetes Service cluster. Unfortunately this takes quite some time. It’s probably a good idea to grab a cup of coffee, tea or even better… beer!
A Kubernetes cluster consists of multiple components. In the case of the free cluster a Master and a Worker will be deployed. The deployment of the Master will take approximately 30 minutes. The deploy of the Worker will take you an additional 5 minutes.
With our cluster running it’s time to deploy our LTO Public Node application. Click Kubernetes Dashboard to open the Kubernetes dashboard main screen in a new tab.
To deploy an application on the cluster click on Create in the top right corner.
Select the Create an App tab and fill in an App name, Container image(important). Now click on Show Advanced Options.
Please change the Memory requirement to 2048 (2 GB) and add your environment variables: LTO_WALLET_SEED, LTO_WALLET_PASSWORD and LTO_NODE_NAME.
{% hint style="info" %} A future update might include the usage of secrets to secure our configuration. {% endhint %}
Scroll down and click Create. Your LTO Public Node will be deployed on your freshly created Kubernetes Service cluster.
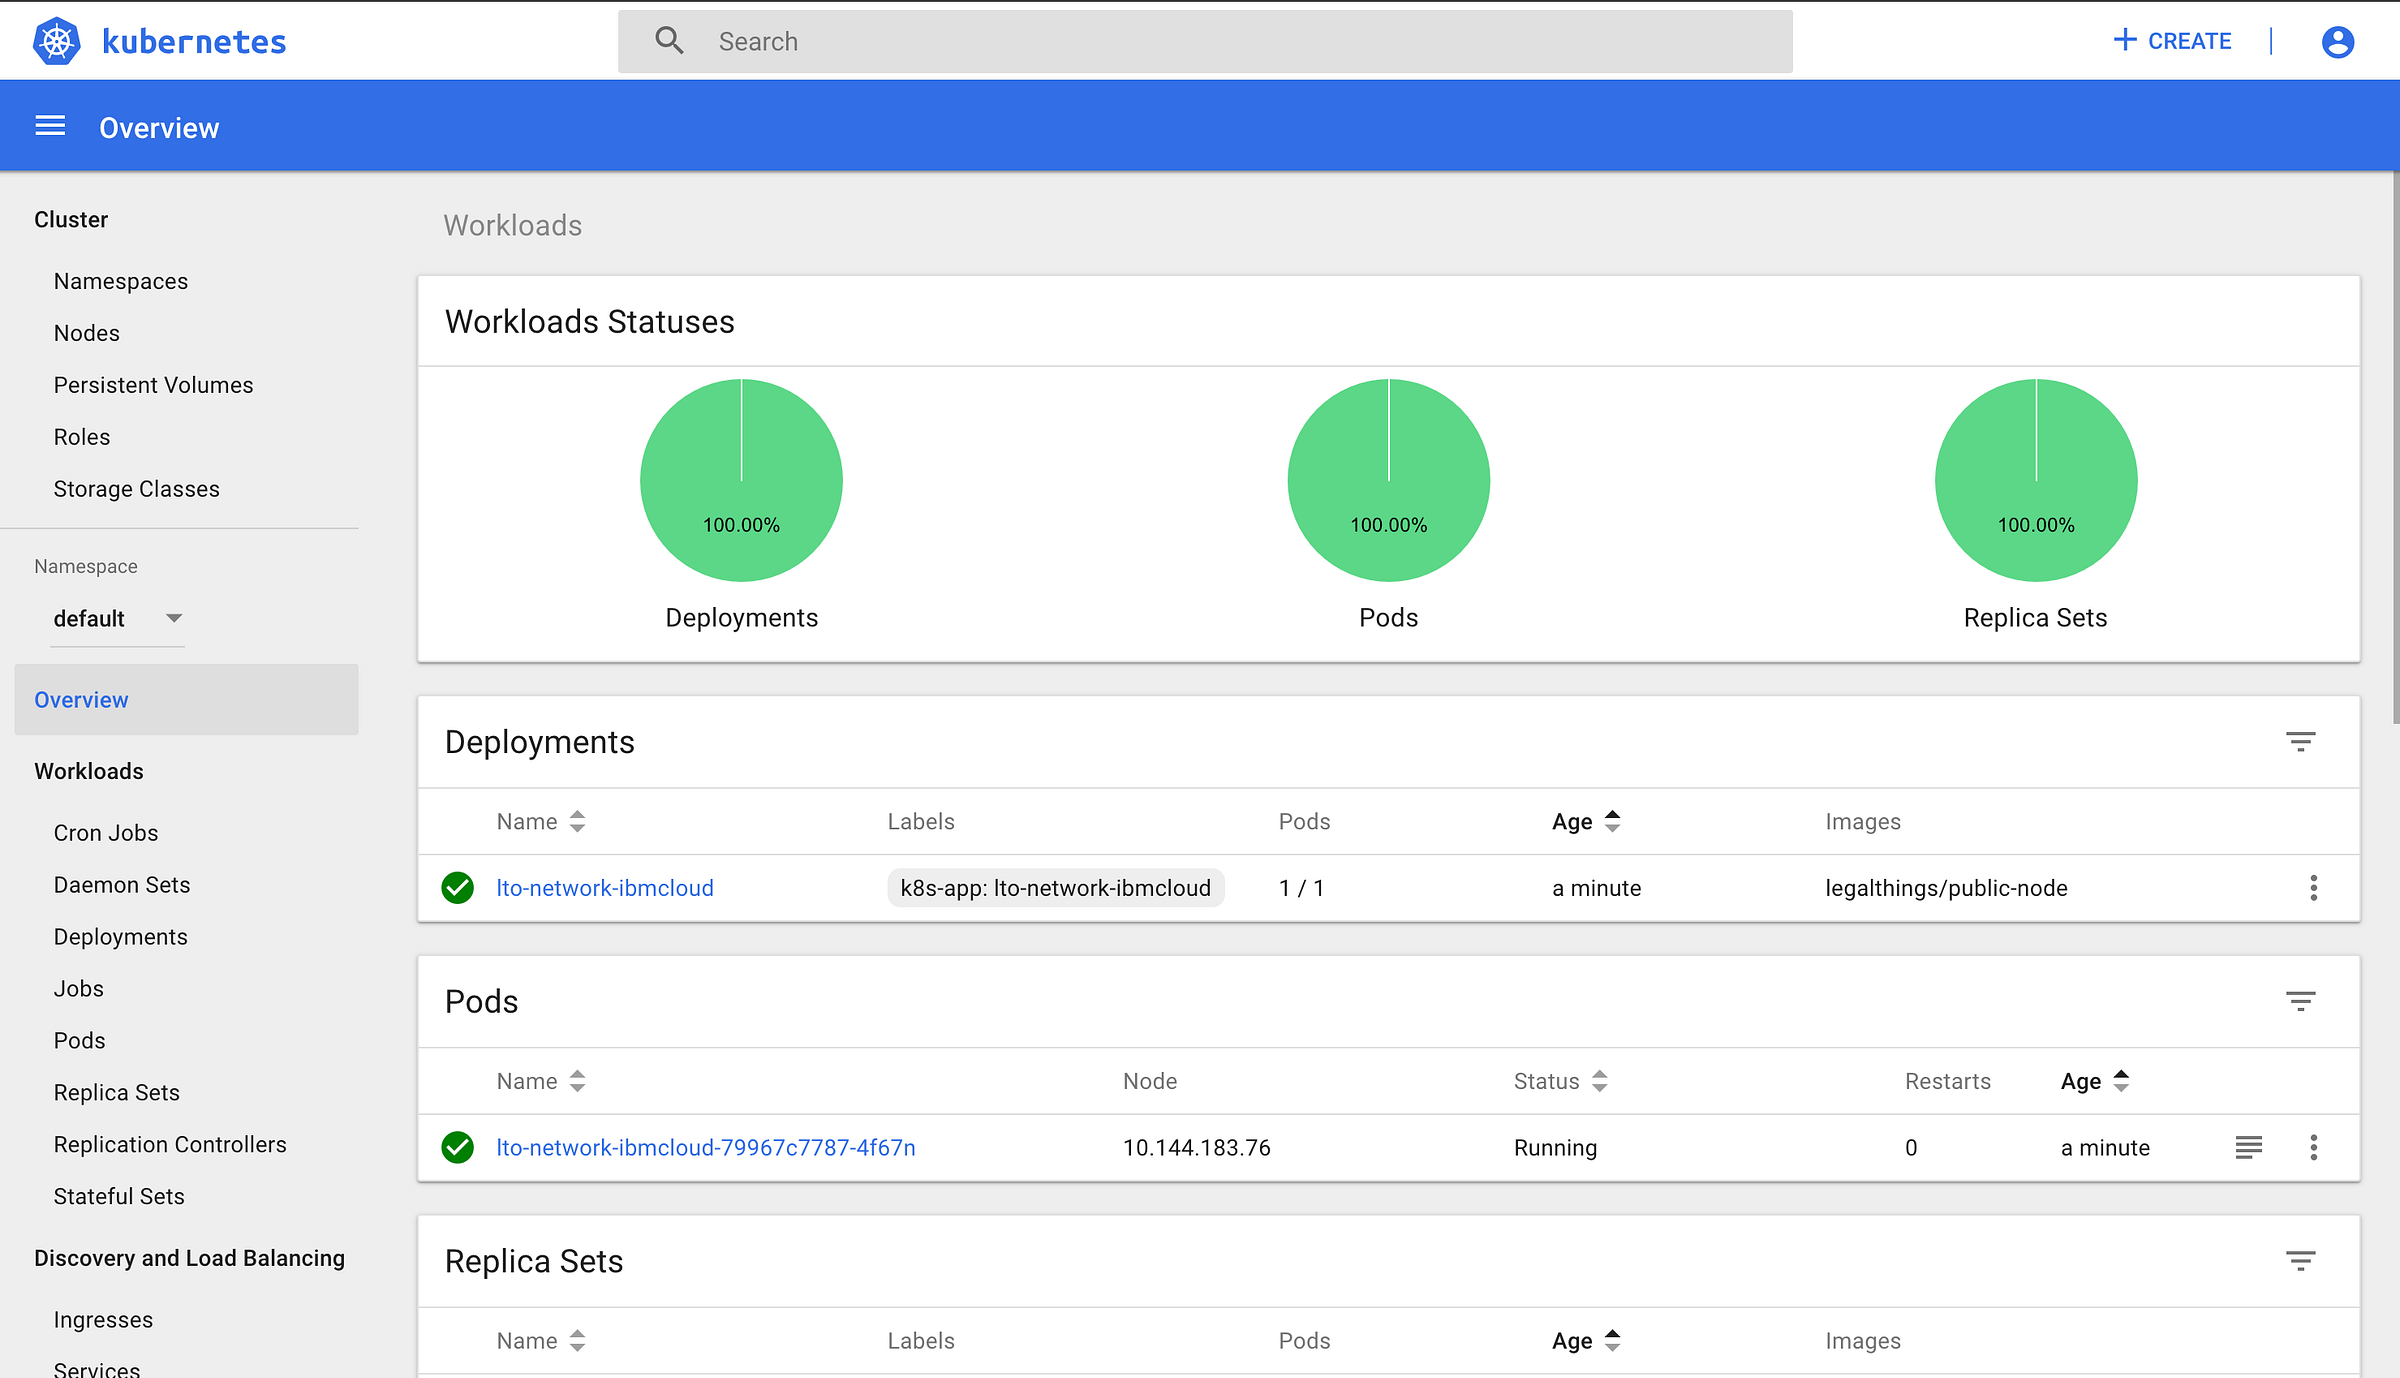
Let’s do a final check and click on our pods name in the Pods section of this main screen.
This page shows the configuration of our running node. Please click on Logs in the top right corner to open a separate tab with our console logging.
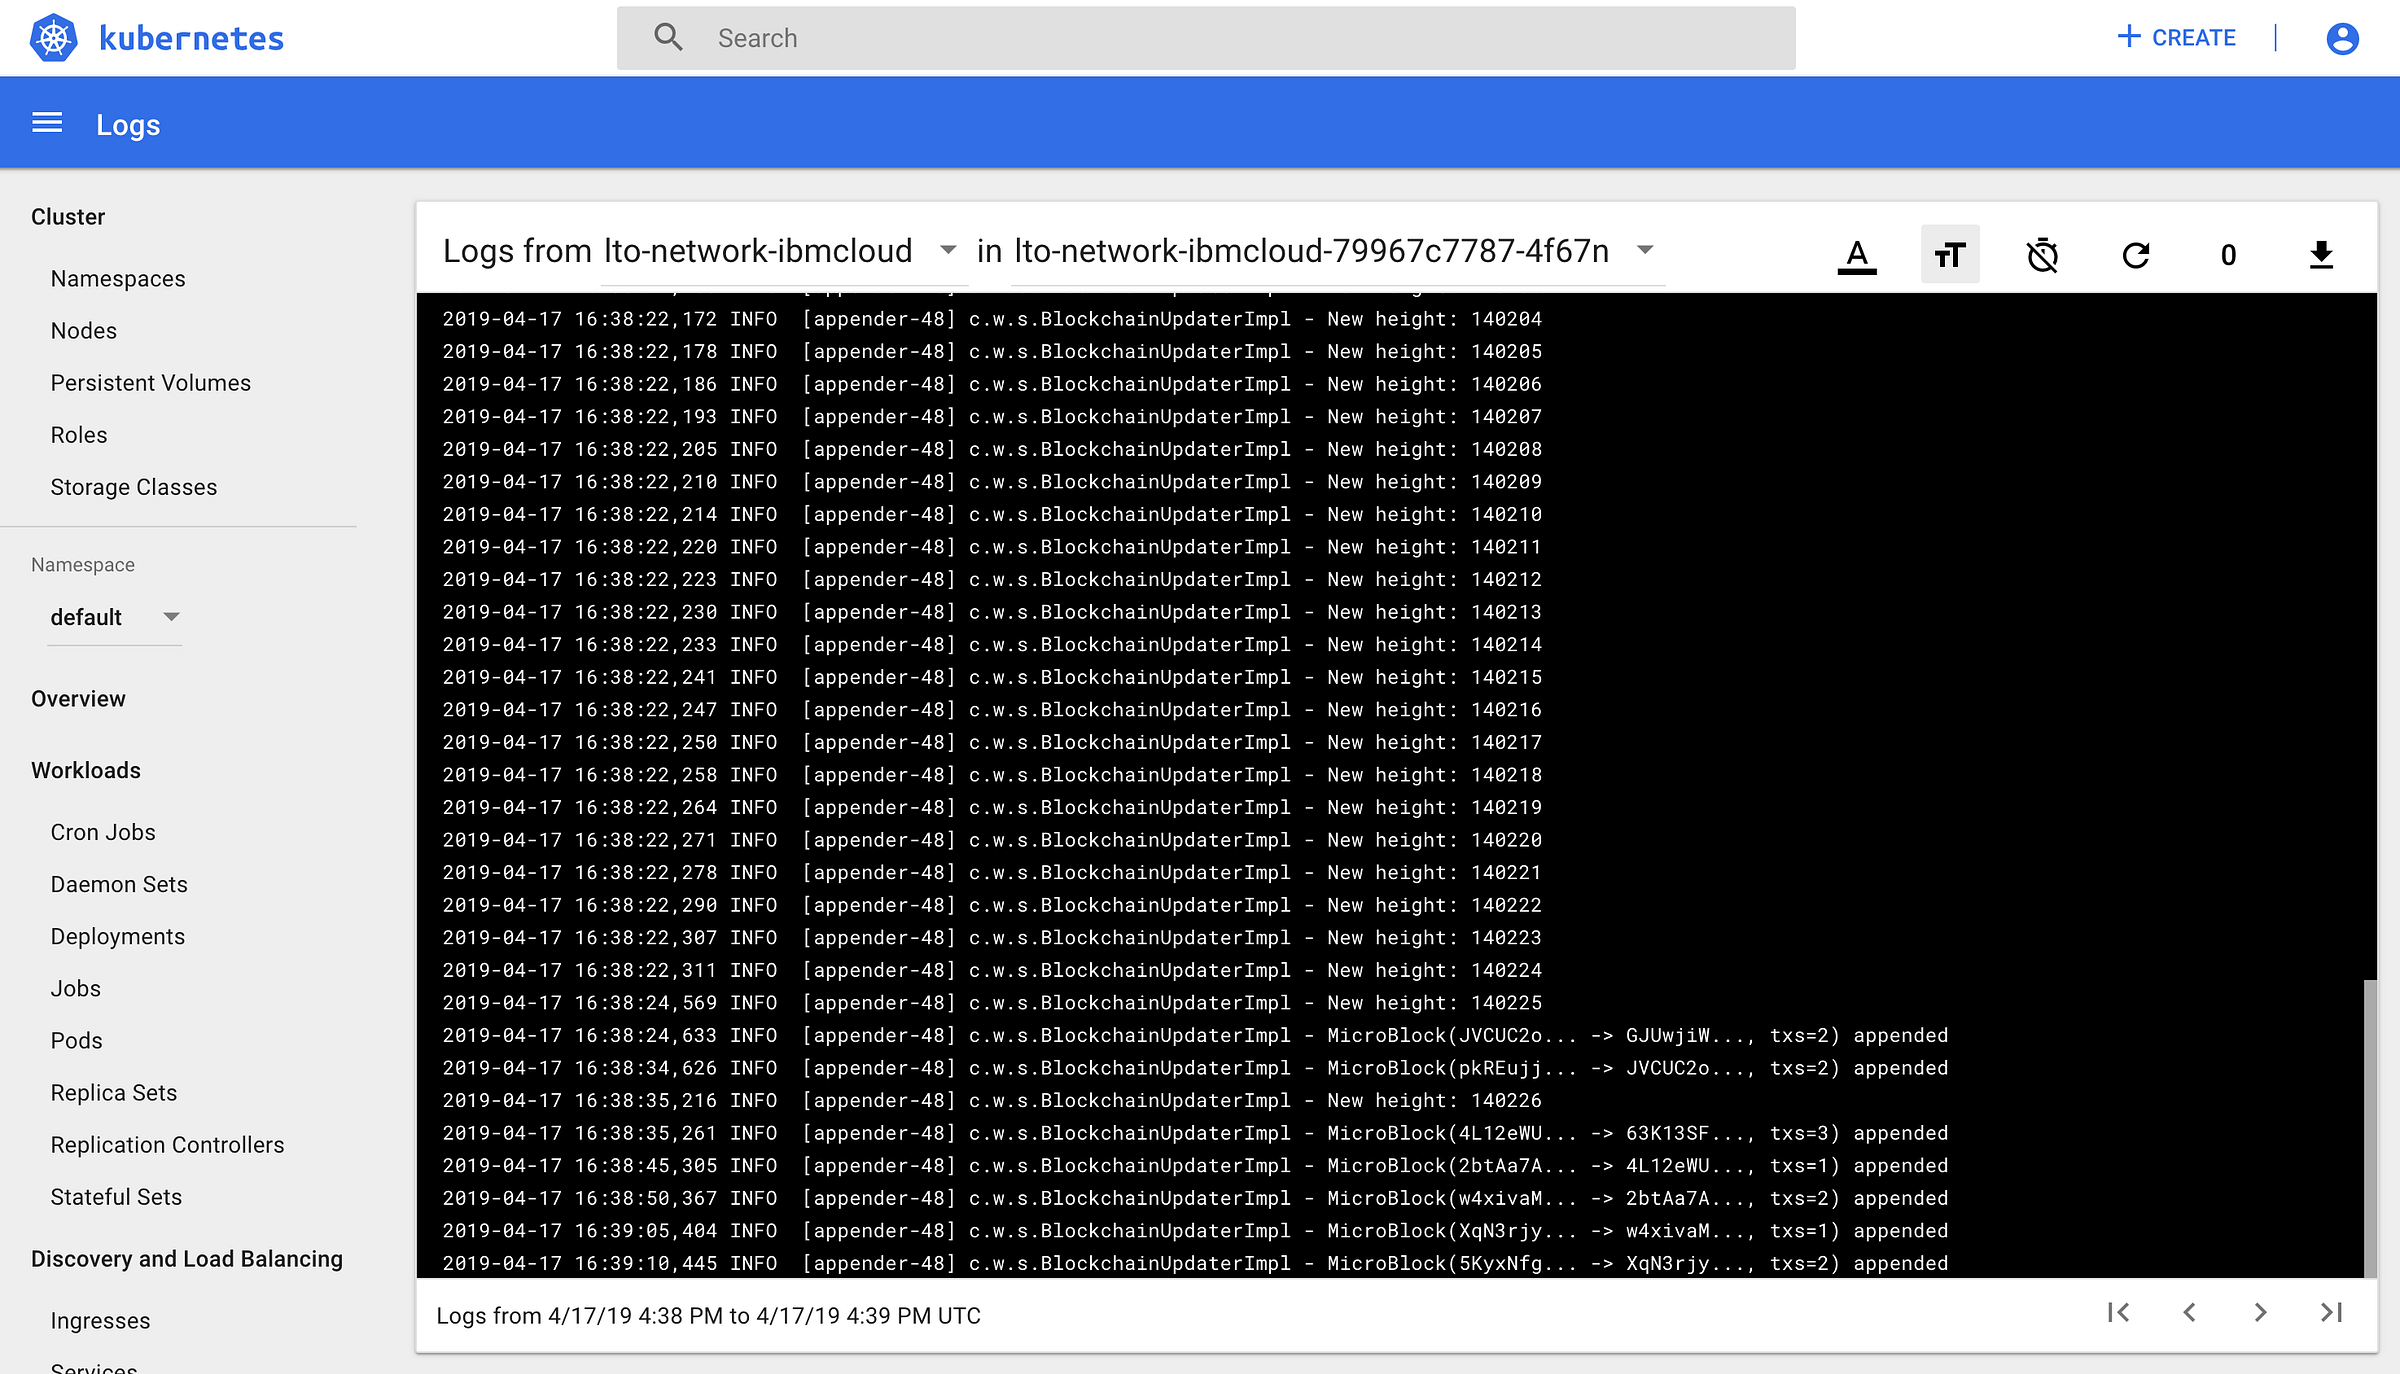
In the above example, I’ve selected the auto-refresh option to make sure the console logging automatically refreshes every 5 seconds. Watch as the node downloads the blockchain and starts adding MicroBlocks.
That’s it. You’ve successfully mastered setting up an LTO Network Public Node on IBM Cloud using Kubernetes Services. Awesome!
You can find the LTO Network Explorer at https://explorer.lto.network. It shows you the blocks generated, by who, when, how big they are, and how many transactions are in the block.
After launching your node check the Explorer to see the number of the last block. Wait till another 1.000 blocks are generated and expect your node to be part of the LTO Network.
{% hint style="info" %} Utilize the available Community Tech Tools to get more insights into the network and your participation. Let's build a secure and useful network together! {% endhint %}
Depending on your stake (the number of LTO tokens you have in the “2nd wallet”) it will take more or less time for you to start earning LTO. Be patient and be happy. Welcome to the amazing LTO Network community! Read more about community programs.
